Process flow:
Crack treatment → Paste glue injection base → Sealing seam → Mixing glue → Glue → Finished product protection → Remove the base and surface treatment
Construction process:
1. Grind the bottom of the beam. For the cracks on the concrete member, use a wire brush or other tools to remove the dust and scum on the crack surface, and then blow out the dust in the crack with compressed air, and then use acetone or anhydrous alcohol. Wipe the cracked surface.
(1) Use a wire brush to remove the oil around the cracks, especially around the adhesive surface of the injection base.
(2) Wash and remove the dust from the cracks with organic solvents such as acetone or absolute alcohol, and allow them to dry sufficiently.
(3) Calculate the depth of the crack based on the width of the crack and determine the location of the injection base. Use an oil-based water pen to mark the crack surface.
(4) The spacing of the glue base should be determined according to the width of the crack: when the width of the crack is greater than 0.15mm, the spacing of the glue base is 20cm; when the width of the crack is less than 0.15mm, the spacing of the glue base is 25-30cm.
2. Carefully and comprehensively inspect the parts to be repaired at the bottom of the beam. Since the internal cracks in the structure may be scattered on the surface of the concrete member, it is necessary to mark the micro cracks near the main cracks to prevent omissions.
3. Apply a layer of sealing glue evenly around the bottom of the base. Be careful not to block the glue holes of the base. Align the glue holes of the base with the cracks. The installation interval of the base is 20 to 30 cm when pasting and installing.
(1) Blend the sealing glue of the injection base. The glue is putty-like, and is adjusted according to the mixing ratio of the main agent and the curing agent 3: 0.75~3: 1.5 until it is evenly blended.
(2) Apply the reconstituted base sealant around the bottom surface of the glue injection base, paste the glue injection base on the crack surface along the seam according to the marked position, and press the base with appropriate force to make the bottom sealant part overflow and cover the glue injection Base edge.

4. Use a small spatula to seal the sealant to the crack. The thickness of the sealant is about 2mm and the width is 2~3cm. When applying the glue, small holes and air bubbles should be prevented. It should be scraped flat to ensure a tight and reliable seal.
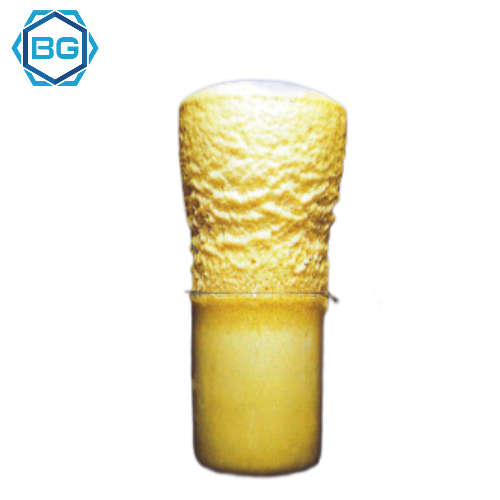
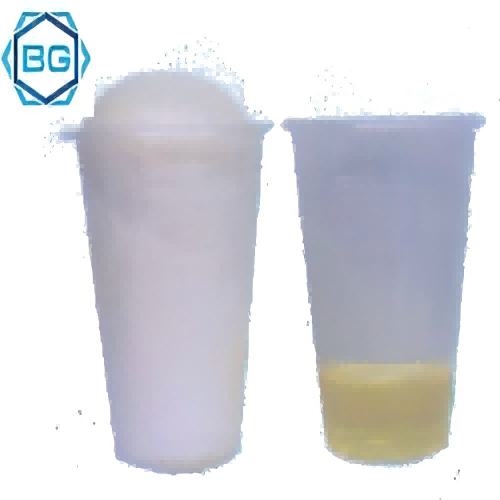
5. Extract materials A and B according to the ratio and required amount provided in the manual of the sealant, pour materials A and B into the mixing container, mix until the color is uniform, and then use. The amount of glue should not be too much at one time, it is better to use it within 40 to 50 minutes. The curing temperature is not lower than 5℃.
6. Put the prepared sealant into the syringe, the vertical cracks in the installation position of the syringe are in order from bottom to top, and the horizontal cracks are in order from one end to the other end. After installation, loosen the spring of the grouting device and confirm the injection state, such as Insufficient resin can continue to replenish injection.
7. The sign of gluing stop is that the rate of gluing is less than 0.1L/min, and then continue to press for a few minutes to stop gluing. After filling, the syringe can be removed, and the base is blocked with a plug to prevent the resin from flowing out during upright and inverted construction. After the glue is filled, the glue injection base must not be disturbed within 24 hours, and the base can be removed after 3 to 5 days.
8. After removing the base, use frosted stone to remove the remaining material to restore the structure to a flat surface.

 English
  Español
  Português
  русский
  Français
  日本語
日本語  Deutsch
  tiếng Việt
  Italiano
  Nederlands
  ภาษาไทย
  Polski
  한국어
한국어  Svenska
  magyar
  Malay
Malay  বাংলা ভাষার
  Dansk
Dansk  Suomi
Suomi  हिन्दी
  Pilipino
  Türkçe
  Gaeilge
  العربية
  Indonesia
  Norsk
Norsk  تمل
تمل  český
český  ελληνικά
  український
  Javanese
  فارسی
فارسی  தமிழ்
தமிழ்  తెలుగు
  नेपाली
  Burmese
  български
  ລາວ
ລາວ  Latine
  Қазақша
  Euskal
  Azərbaycan
  Slovenský jazyk
  Македонски
  Lietuvos
  Eesti Keel
  Română
  Slovenski
  मराठी
मराठी  Srpski језик